The Driver Portal
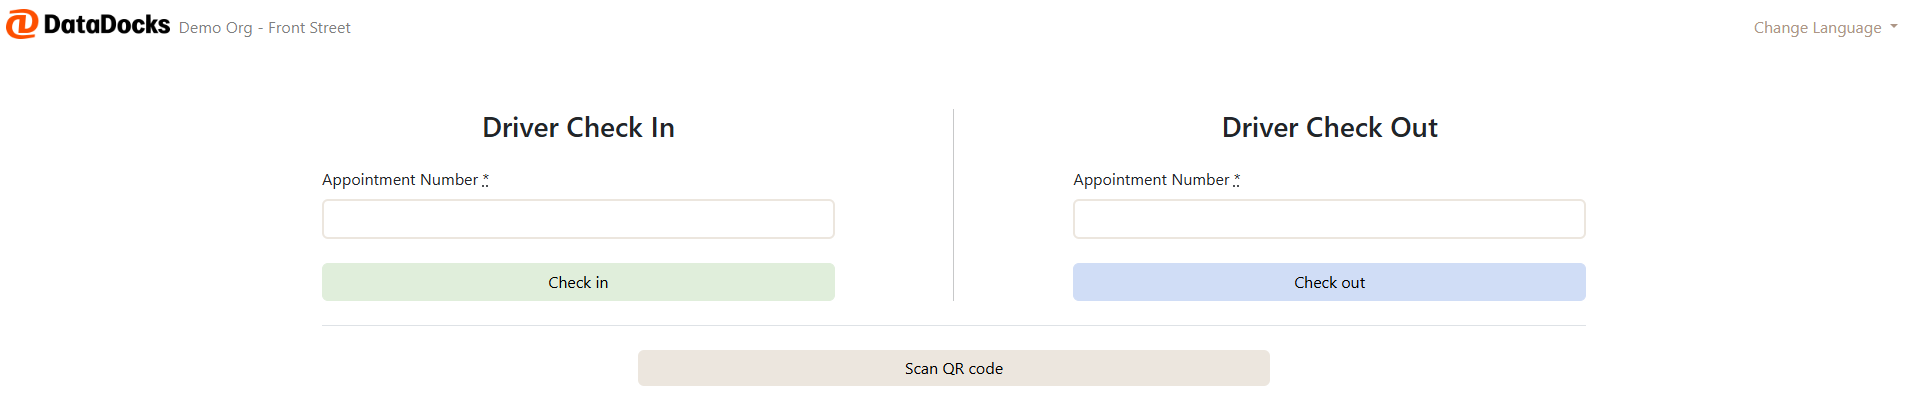
The Driver Portal allows you to check in and check out of your appointment using your phone or tablet—no physical check-in required. This helps the facility know when you arrive and when you leave, while keeping your visit moving smoothly.
Accessing the Driver Portal
Drivers can access the Driver Portal in one of two ways:
-
Scan a QR Code at the facility: Upon arrival, scan the facility’s QR code using the camera on your mobile device. This will automatically open the Driver Portal in your browser.
-
Visit a provided URL: Navigate to the Driver Portal by entering the URL provided by the facility into your mobile browser.
Step 1: Validate Your Appointment
Once the portal opens, you’ll be asked to identify your appointment. Enter one of the following (based on what the facility provides):
- Appointment Number
- Access Token
- Purchase Order (PO) Number
- BOL Number
- QR Code
If the information matches an existing appointment, you’ll move to the next step. If not, you’ll see an error message and can try again.
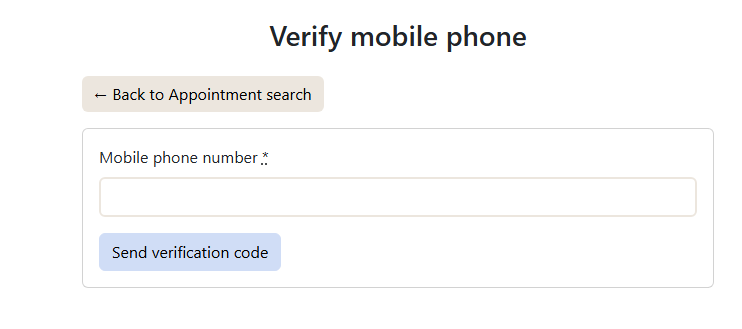
Note Please note, the facility you have arrived at might require you to verify your mobile phone before you proceed. Please enter your phone number, you will then receive a unique verification code that must be entered to proceed. If you do not see this option, the facility does not require validation.
Step 2: Enter Required Information
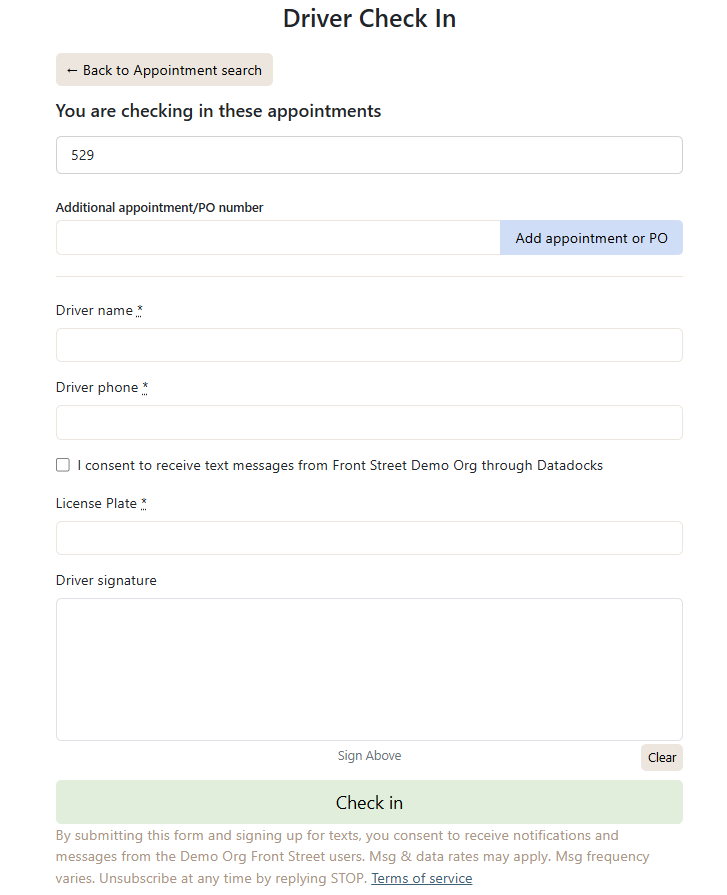
After your appointment is validated, you’ll be asked to fill in a short form. This may include details such as:
- Driver name
- Phone number
- Trailer or reference information
Anything marked with an asterisk (*) is a mandatory field.
If the facility allows grouped check-ins, you may have the option to enter multiple Appointment Numbers or PO Numbers during check-in.
Each appointment is validated individually. If one or more appointments do not meet the facility’s check-in requirements (for example, the appointment is arriving too early), you will receive a validation message for those specific appointments.
You can still proceed with checking in any appointments that successfully meet the validation requirements — grouped check-in is not an all-or-nothing process.
Tip! If you enter a phone number, you’ll be asked to consent to receiving text messages. This allows the facility to contact you if needed during your visit, and you can respond to them via text message.
Step 3: Check-In Confirmation
Once the form is complete:
- Your appointment is officially marked as Arrived
- The facility team is notified
- You’ll see a confirmation screen letting you know you’re checked in
You’re all set—please follow any on-site instructions while you wait.
Messaging During Your Visit
If you provided a phone number and gave consent, the facility may send you text messages with updates or instructions (for example, dock assignment or next steps).
- You can reply directly to these text messages
- All communication is tied to your appointment to avoid confusion
Driver Check-Out
When you’re ready to leave the facility, return to the same Driver Portal link and complete the check-out process.
How Check-Out Works
- Open the Driver Portal
- Validate your appointment (same process as check-in)
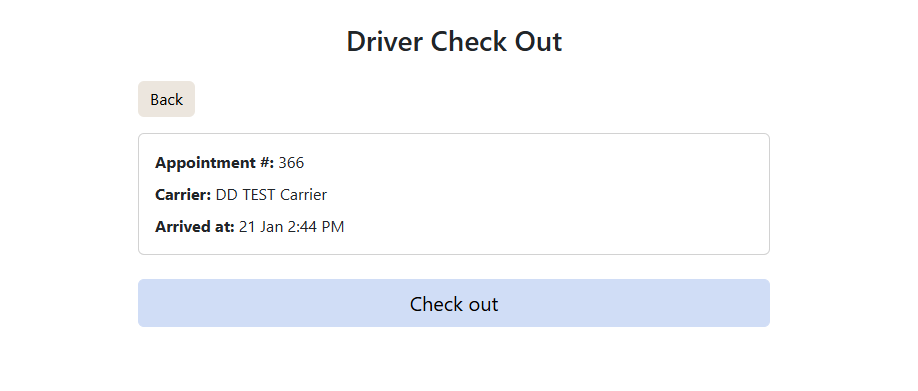
- If your appointment is eligible for check-out, you’ll be prompted to confirm
- If your appointment is not eligible for check-out, you'll receive an error message.
If your appointment was checked in as part of a group, the entire group must be checked out together. Entering any Appointment Number or PO Number associated with the group will automatically process the check-out for all appointments within that group. Partial group check-outs are not supported.
Why Use the Driver Portal?
Using the Driver Portal helps ensure:
- Faster entry and exit
- Less waiting at gates or offices
- Accurate arrival and departure times
- Clear communication with the facility
It’s a simple, self-service way to keep your visit efficient and on track.